Blog_Web_app_django
Django_blog
The Django_blog project is a blog website developed using the Django framework. It includes an admin panel that allows users to control, write, and modify blog posts. By cloning the project and following a few setup steps, users can run the project locally. The website provides a platform for publishing and managing blog content. Additionally, it offers an admin interface for creating and editing blog posts. With Django_blog, users can easily create, update, and delete blog posts to share their thoughts and engage with readers.
To run this project
- clone into your local machine :
git clone https://github.com/shubhamAW/Django_blog.git - go to project using
cd django_blog - go to inside folder
cd django_blog - now to install and activate virtual environment type command :
pipenv shell - Now install django to your inside the virtual environment :
pipenv install django - Now run this project using :
djangoenv/bin/activate - head over to http://127.0.0.1:8000/ to see the output
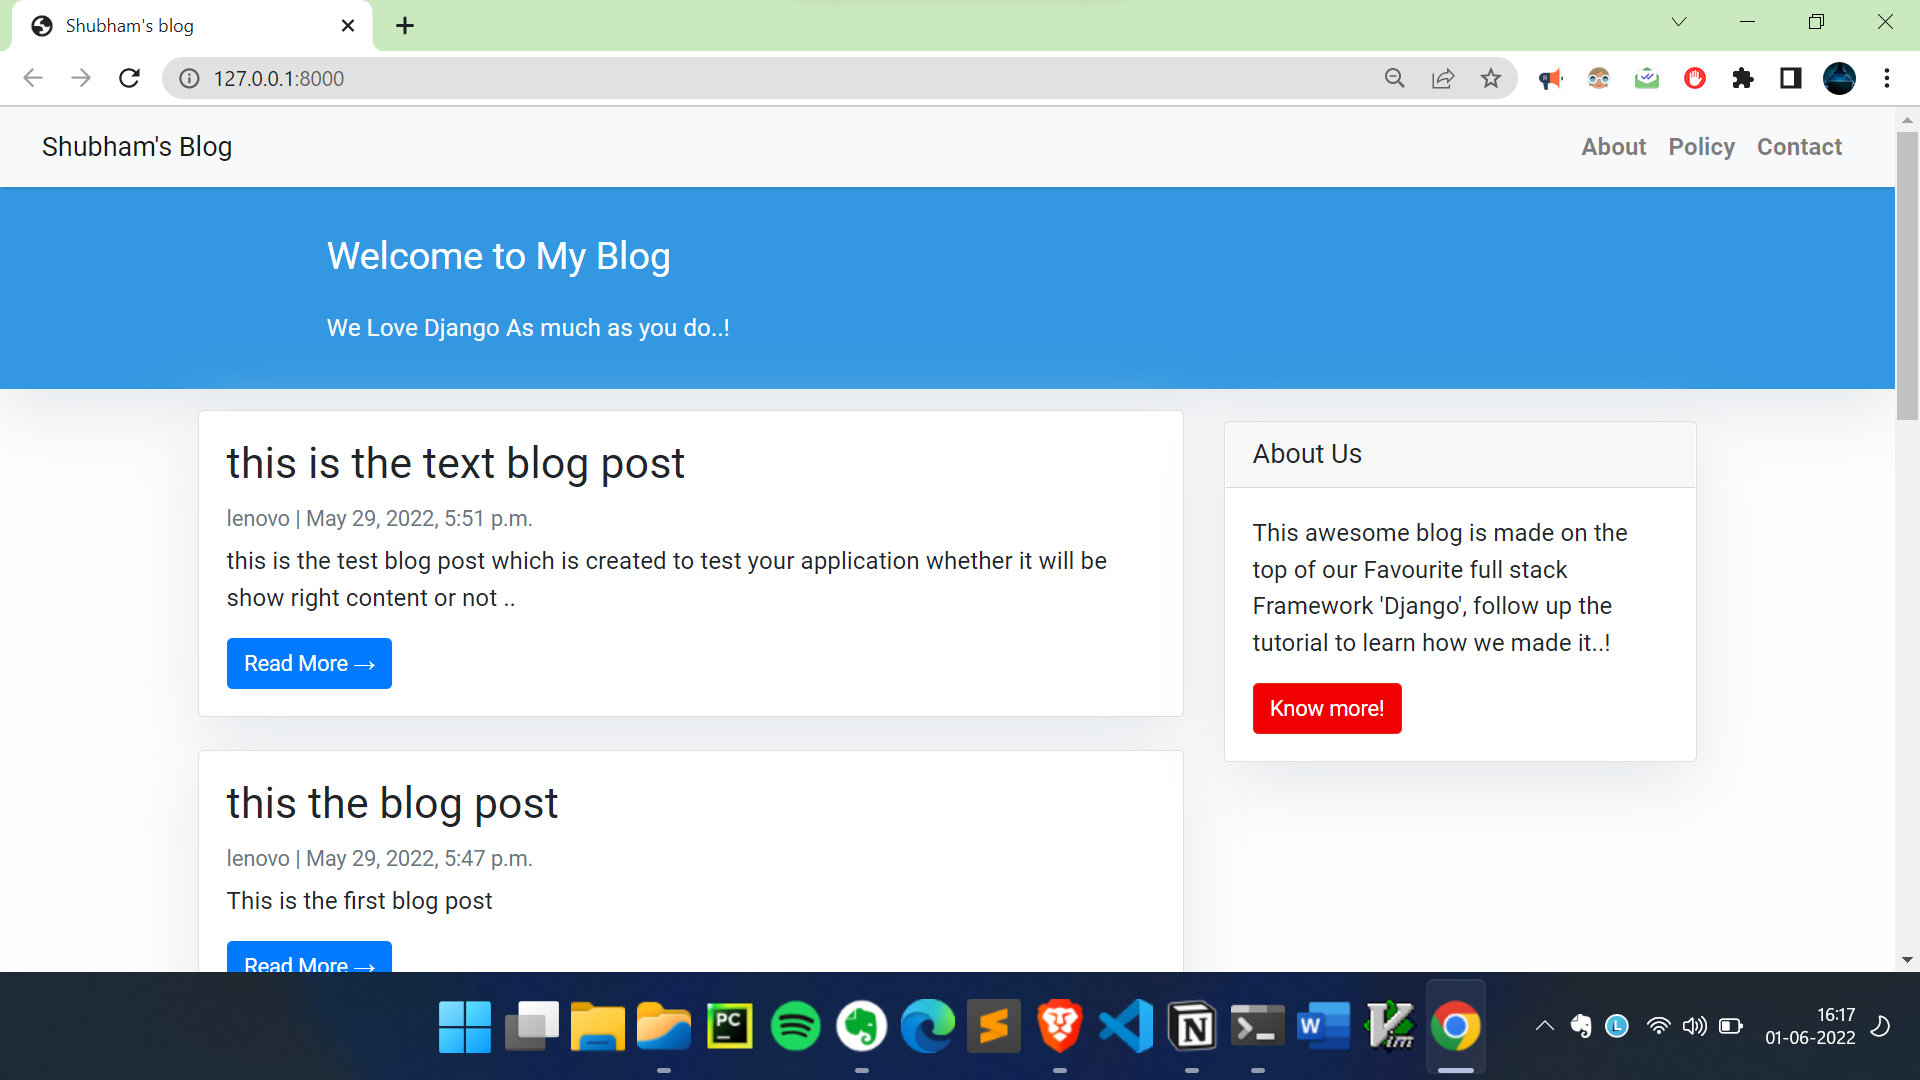
- You will see the output window :
Now you only see the blog but you will not able to write or modify or delete .
for that you need to access the admin , for this you need to create a superuser and provided the login information and login ..
- to create a super user run
python manage.py createsuperuser - This will ask you username : password : Email:
3.run again python manage.py runserver
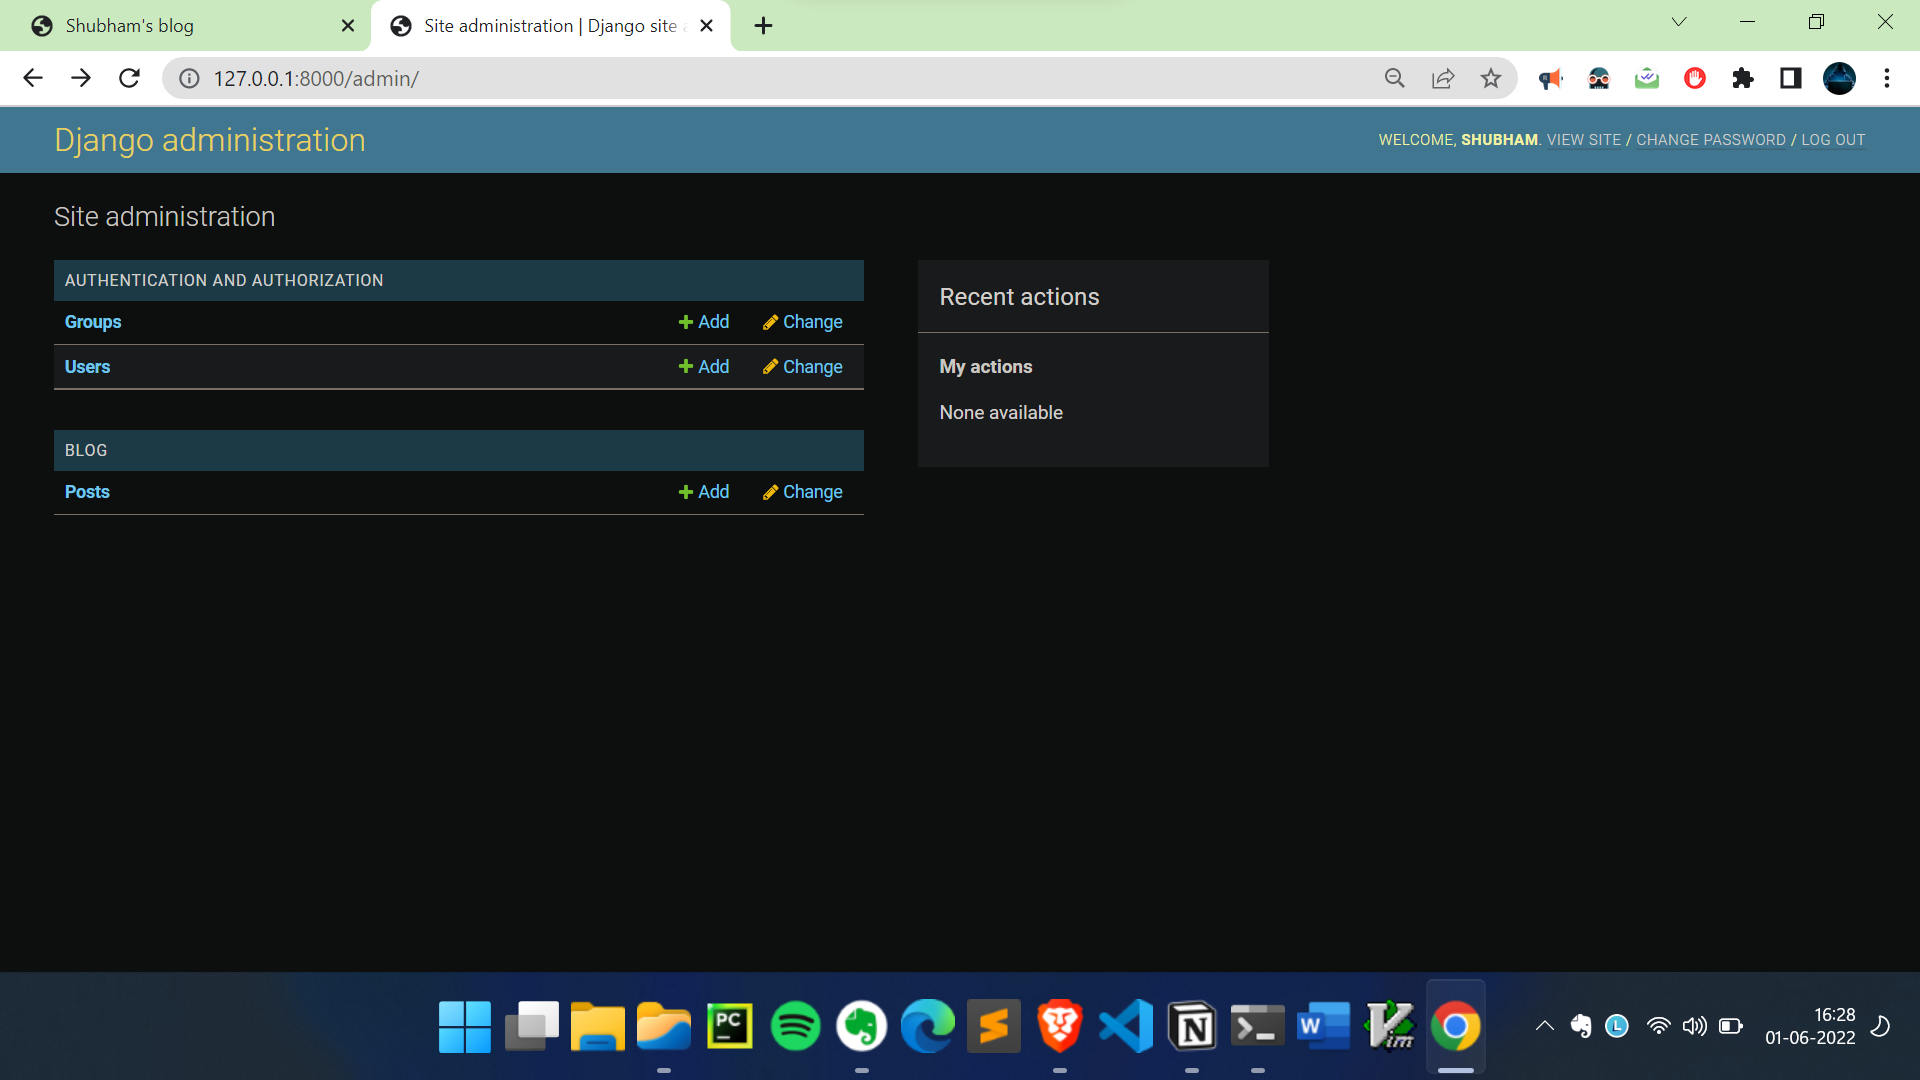
- Now to go http://127.0.0.1:8000/admin/ and login with your username and password .
- output :
 Now you can add blog , delete and update the blog posts..